Save raw depth as JPEG or PNG?
TL;DR: Never save raw depth as JPEG. JPEG gives you 256 depth levels and smears lossy-compression artifacts across object boundaries; 16-bit PNG gives you 65,536 levels, losslessly. Convert to millimeters, cast to
uint16, save as PNG. Your point clouds will thank you.
Index
- Index
- The Spark: A Quest for Compression
- The Twist: Shaky 3D Scenes
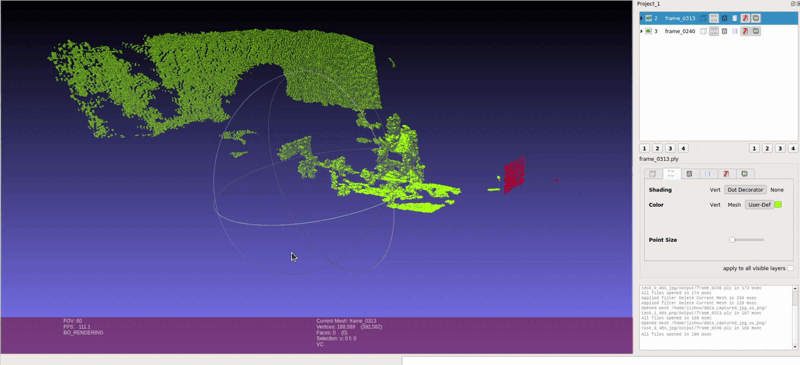
- RGB + JPEG Depth Scene Point Cloud
- The Discovery: Switching to PNG
- The Evidence: Videos and Point Clouds
- Lessons Learned: Why PNG Wins
- Closing Thoughts
The Spark: A Quest for Compression
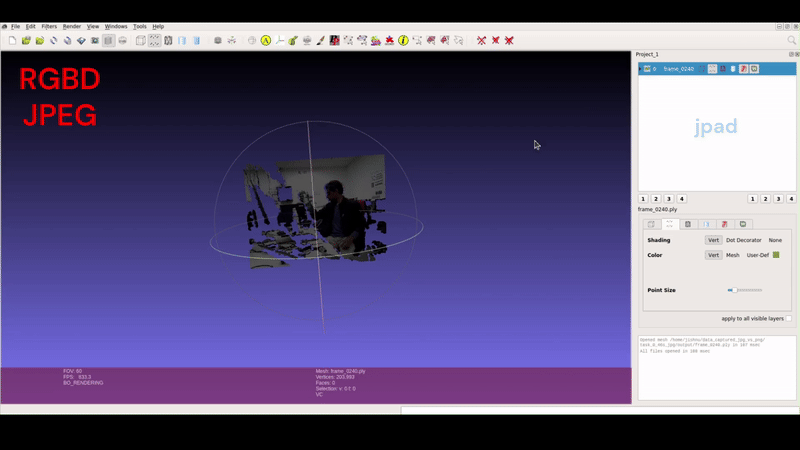
In my recent robotics project, data collection was progressing at full steam. The challenge? Managing the ever-growing volume of RGB and depth images. 📈 Compression seemed like the perfect solution. For RGB images, JPEG was a natural choice—efficient, widely used, and capable of reducing file sizes significantly. But then came the question: Could JPEG work for depth images too? 💾
Eager to streamline the process, I stored both RGB and depth images in JPEG format. It felt like a practical and straightforward decision at the time.
The Twist: Shaky 3D Scenes
Things took an unexpected turn when I moved to the next phase: generating 3D scene point clouds from the depth data. Point clouds are critical for extracting insights and performing spatial analysis. 🧠 Using my JPEG-based dataset, I plotted the point clouds—and that’s when the problems began. The 3D scenes were noisy, unstable, and lacked the precision I needed. ❌
Digging deeper, I realized JPEG was hurting the depth data twice. First, bit depth: baseline JPEG stores 8 bits per channel — OpenCV’s imwrite will only write 8-bit JPEG — so every depth value in the scene gets squeezed into just 256 levels. Second, JPEG’s compression is lossy: its block-based encoding introduces artifacts exactly where depth matters most — across object boundaries, where a few corrupted pixels turn a clean edge into a spray of floating points. You can see both effects directly in the comparison videos below. Crucial detail was gone before I ever plotted a single point.
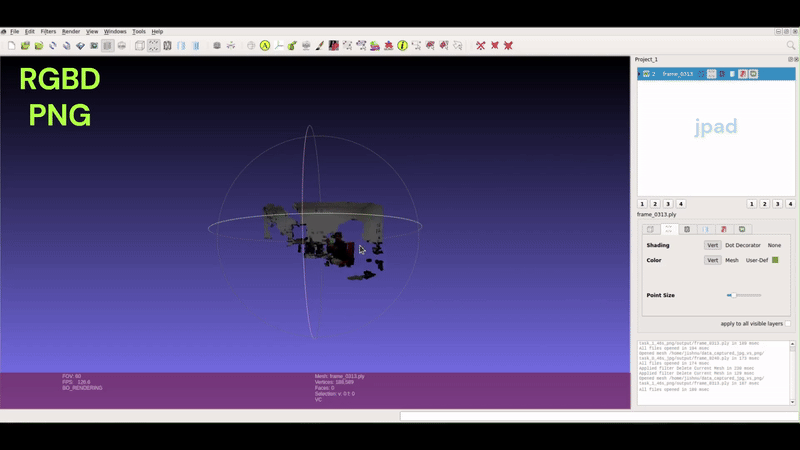
The Discovery: Switching to PNG
To address the issue, I switched to storing depth images as 16-bit PNG — the PNG specification supports up to 16 bits per channel with lossless compression, and OpenCV writes uint16 PNGs natively. The difference is not subtle: 16 bits means 65,536 distinct depth levels instead of 256 — a 256× jump in precision — and lossless means every value comes back exactly as it was written. Stored as millimeters in uint16, that covers 0 to 65.535 meters at 1 mm resolution: more than enough for any indoor robot. With this new setup, I recollected data and generated fresh point clouds. 🎨
The results were striking. The PNG-based depth data produced clear, accurate, and stable 3D scenes. The full bit depth preserved the subtle variations in depth values, enabling precise visualization and analysis. 🌄
What seemed like a minor choice of file format turned out to have a major impact on the quality and usability of the data.
The Evidence: Videos and Point Clouds
To highlight the differences, I created visual comparisons:
It is evident that JPEG depth loses some depth information, while PNG is better at capturing a wider range of depth values. These visualizations clearly demonstrate why PNG is the superior choice for depth data.
Lessons Learned: Why PNG Wins
Two factors decide this, and JPEG loses on both:
| JPEG | 16-bit PNG | |
|---|---|---|
| Bit depth | 8-bit → 256 levels | 16-bit → 65,536 levels |
| Compression | Lossy — artifacts at depth edges | Lossless — bit-exact round trip |
| Range @ 1 mm resolution | 0.255 m 😬 | 65.535 m ✅ |
| File size | Smallest | Larger — and worth every byte |
While JPEG remains excellent for RGB images, raw depth is measurement data, not a photo — it needs every bit back exactly as recorded. The larger file size is real, but it buys you data you can actually trust. 📁
Here’s the snippet I use to convert and save depth from the ROS topic on the Fetch robot:
if depth.encoding == "32FC1":
    # Convert depth message to OpenCV format
    depth_cv = self.cv_bridge.imgmsg_to_cv2(depth)

    # Replace NaN values with 0 and convert from meters to millimeters
    depth_cv = np.array(depth_cv)
    depth_cv[np.isnan(depth_cv)] = 0
    depth_cv = depth_cv * 1000

    # Convert to uint16: 1 mm resolution, 0–65.535 m range
    depth_cv = depth_cv.astype(np.uint16)

    # Save losslessly as 16-bit PNG
    cv2.imwrite("depth.png", depth_cv)
Closing Thoughts
In robotics, even seemingly minor decisions—like choosing a file format—can have far-reaching implications. This one cost me a data recollection; one line of foresight (cv2.imwrite("depth.png", ...)) would have saved it.
Next time you’re saving depth, remember: a depth image is a sensor measurement wearing an image costume. Store it like data—16-bit, lossless—and your point clouds will stand still. ✅
If you’ve worked with other formats for depth data, I’d love to hear your insights. 🤝✨
References
- OpenCV
imwritedocumentation — supported formats and bit depths (8-bit JPEG; 16-bit PNG) - PNG specification (W3C) — up to 16 bits per channel, lossless
- ITU-T T.81: the JPEG standard — baseline DCT coding is 8-bit, lossy
Feel free to reach out in case you have a query. You are always welcome. You can find me on X at @jishnu_jaykumar.